You can share a document folder with anyone in your address book. To share a document folder, follow the steps below.
You can also see our training video Video: How to Share Document Folders (2:59) at https://youtu.be/zEFnRw8DBWw
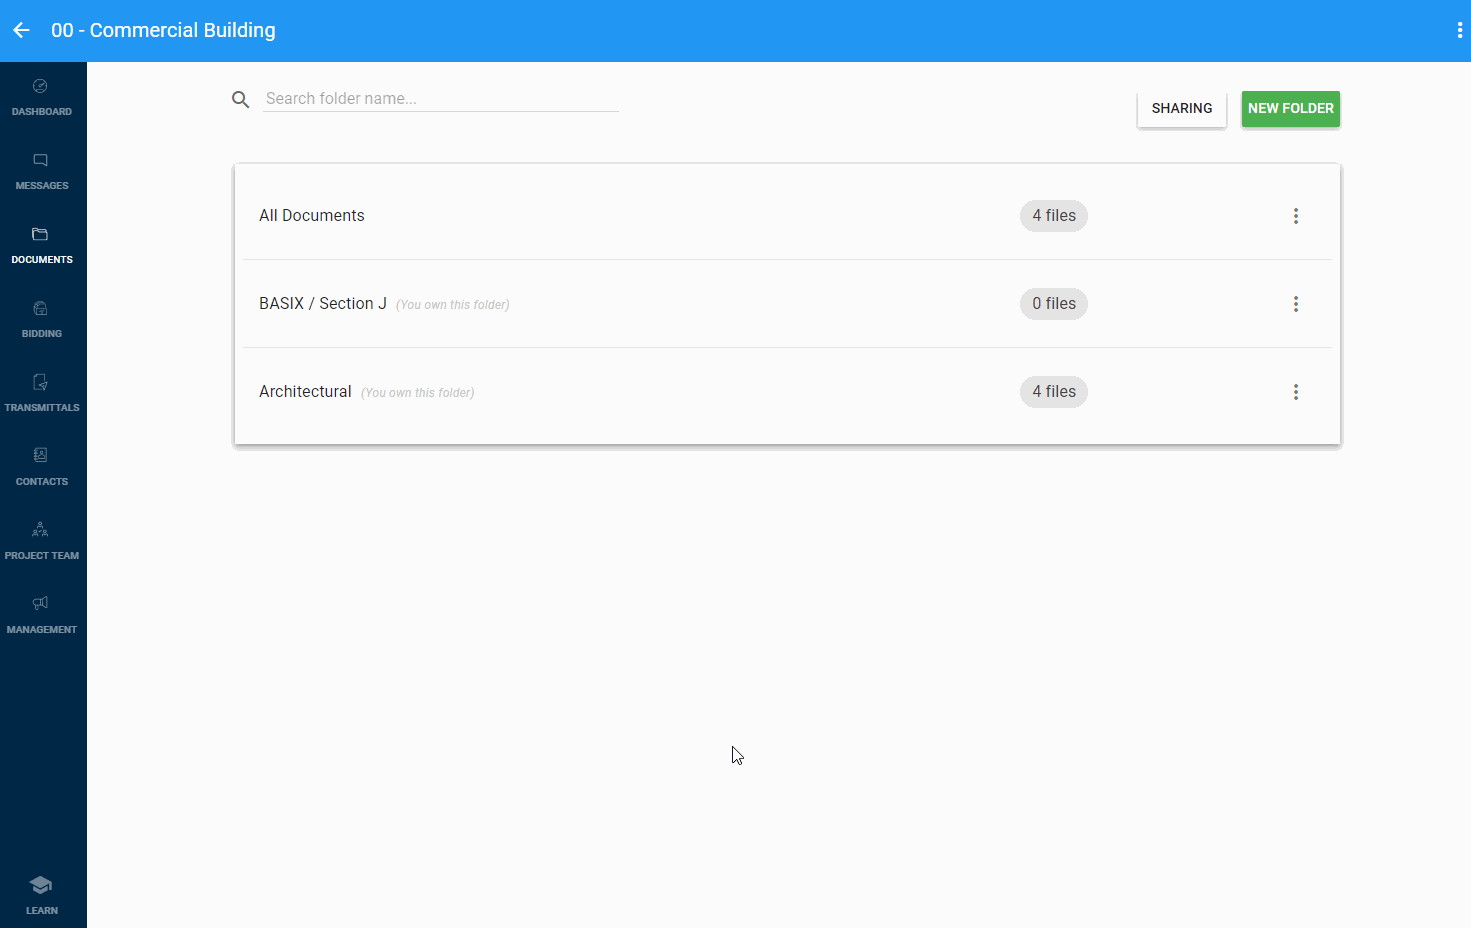
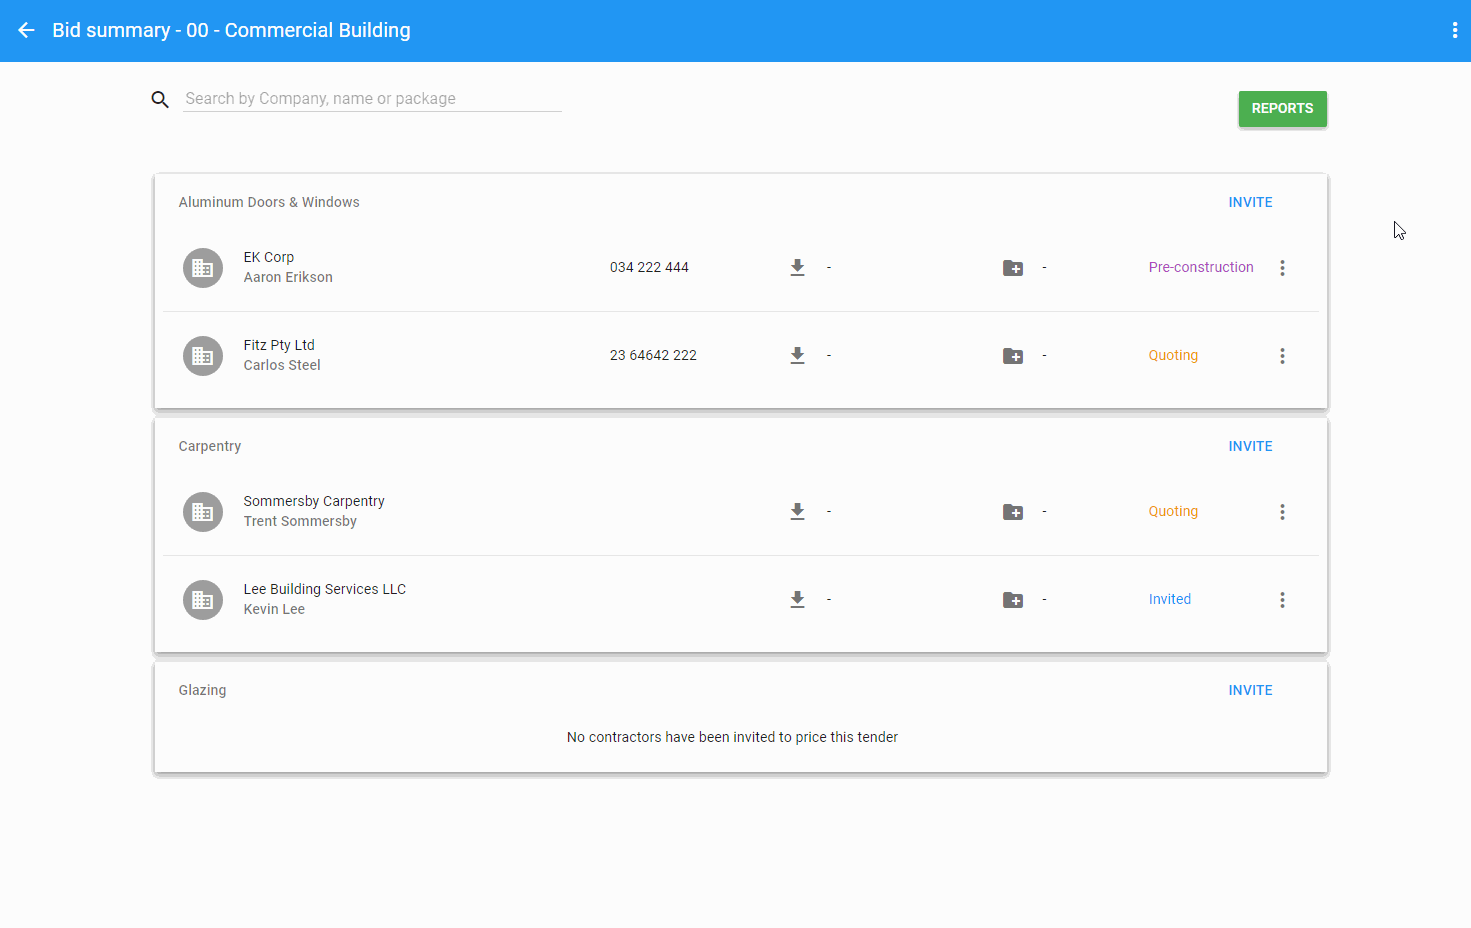
Step 1: Go to documents
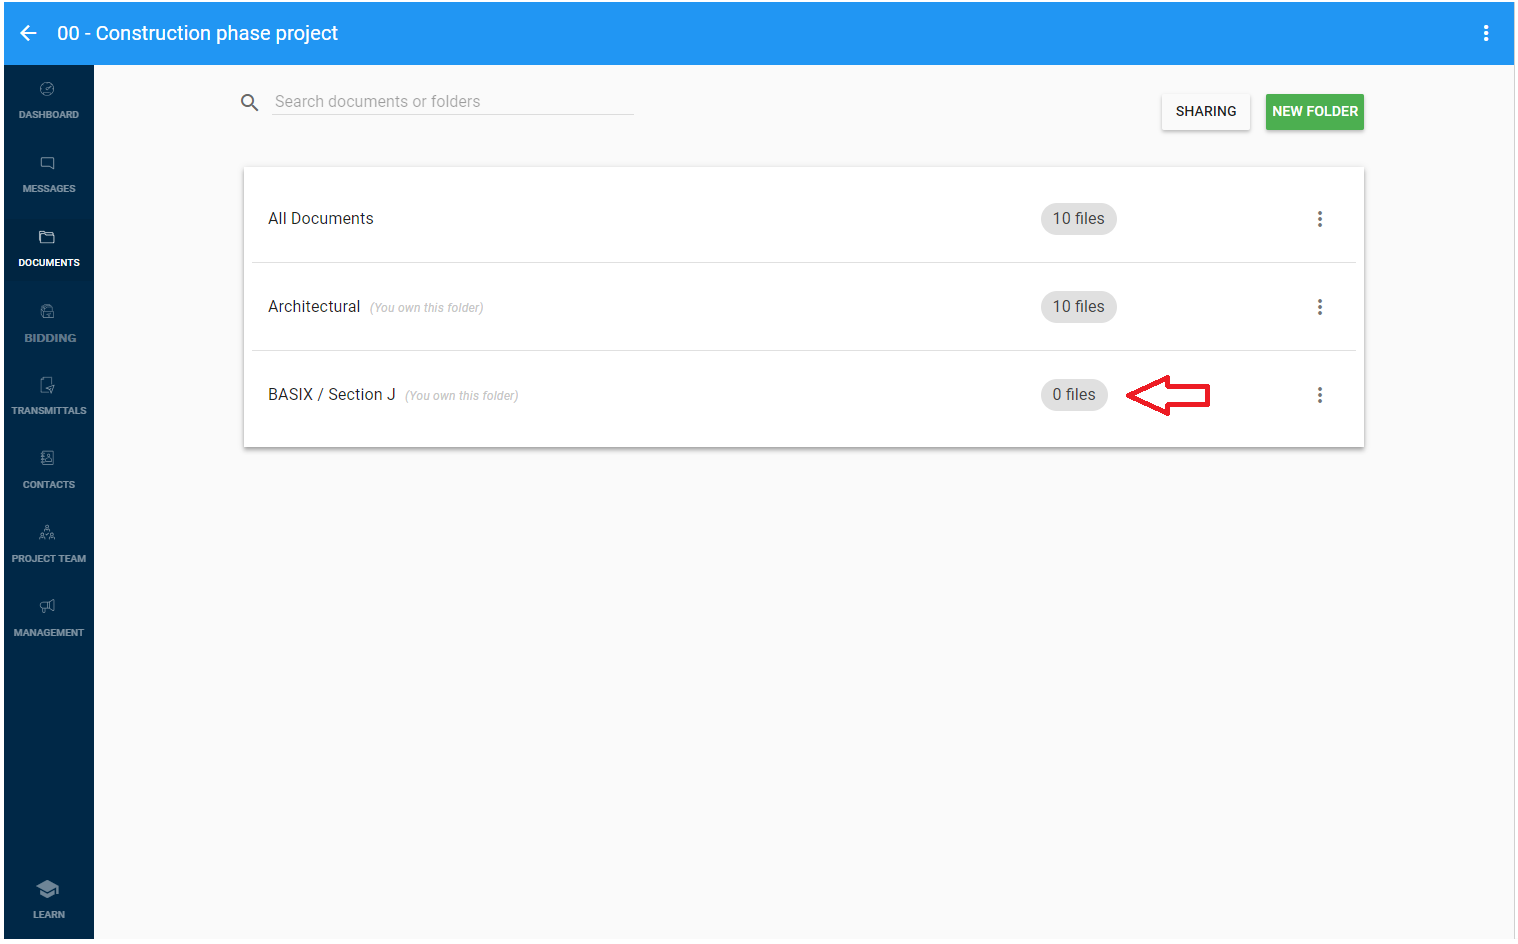
Go to your project documents and locate the folder you wish to share.
Step 2: Click the overflow button
Click the overflow button to the right of the folder and select “Share” from the menu.

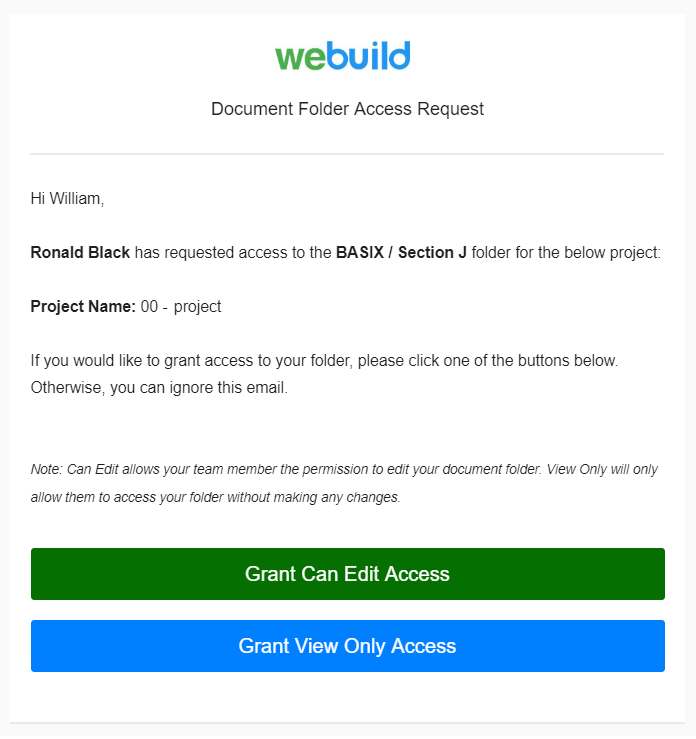
A dialogue will be displayed allowing you to search your list of contact for the contacts that you wish to give them access to your folder. Start typing the name, email or company name of the contact and the system will automatically fill in the name of the person or company. Click the “SHARE” button in the bottom right hand corner.
If you enter a name that is not on your list of contacts, a window will open in the dialogue to prompt you to enter details of the new contact. Click on the “ADD NEW CONTACT” button and a form will open to allow you to enter these details.
When done, click on the “ADD” button in the bottom right hand corner of the form. The name of your new contact will then be added automatically to the list of that you wish to give them access to your folder.

When you have finished adding the names of all the contacts that you wish to give them access to your folder, click on the “SHARE” button on the bottom right hand corner of the Sharing dialog.

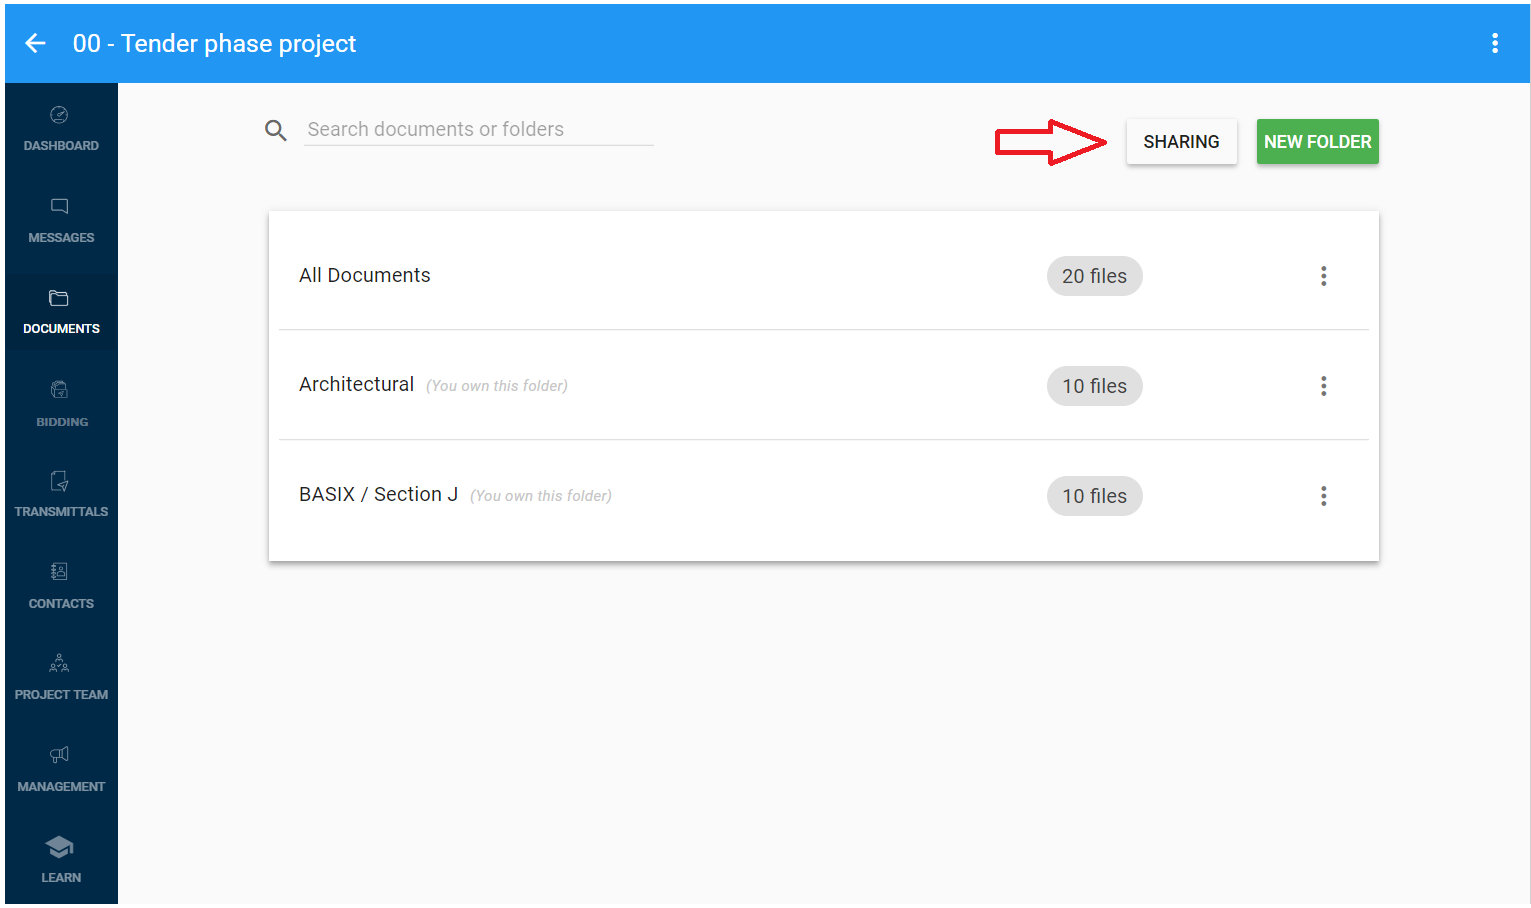
Step 3: Set access permission levels for each contact
Once you have contacts in your list, click the “SHARING” button on the top right hand corner and a new dialogue will open to allow you to set the folder access permission level for each contact by selecting one of two options:
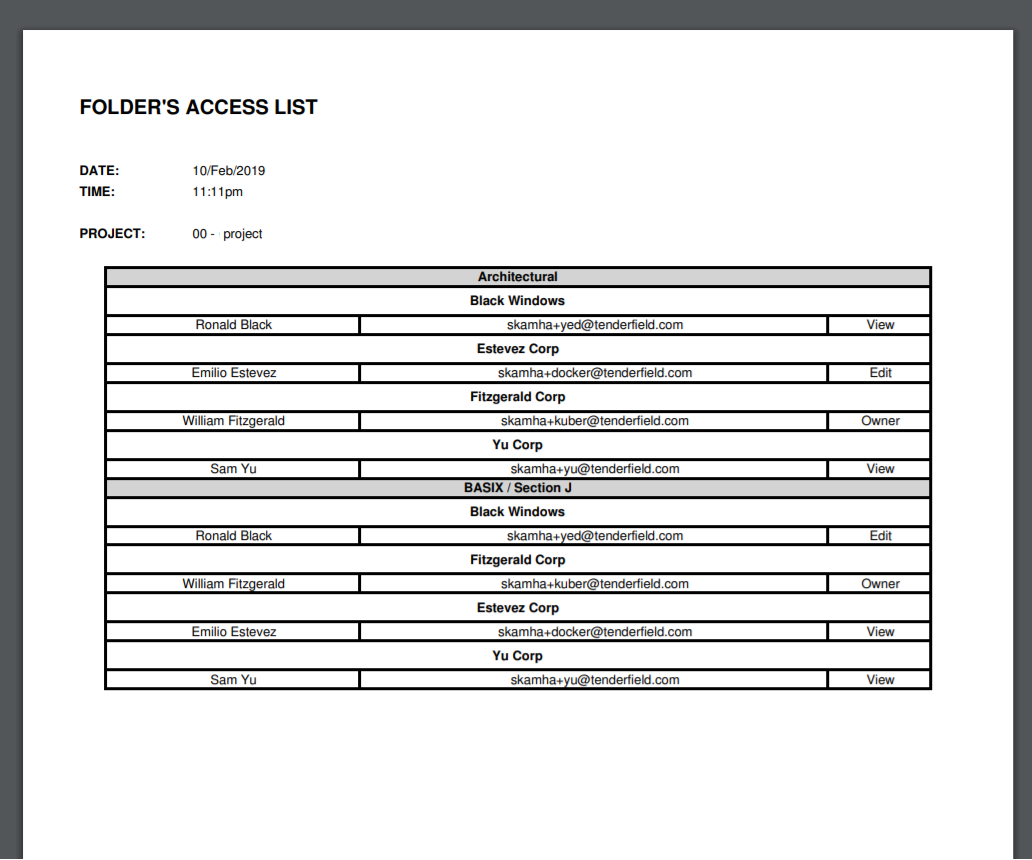
1. Can view: contacts can view, download and comment on the plans/files in your folder, but cannot edit, delete or add files.
2. Can edit: contacts have access to all folder permissions (identical to that of the folder owner), including:
– edit folder name
– view “Sharing” section and edit permissions
– share folder
– remove folder
– add new plans/files
– supersede existing plans/files
– view plans/files
– edit the description of plans/files
– remove plans/files
– add a note to a plan/file
– share a plan/file
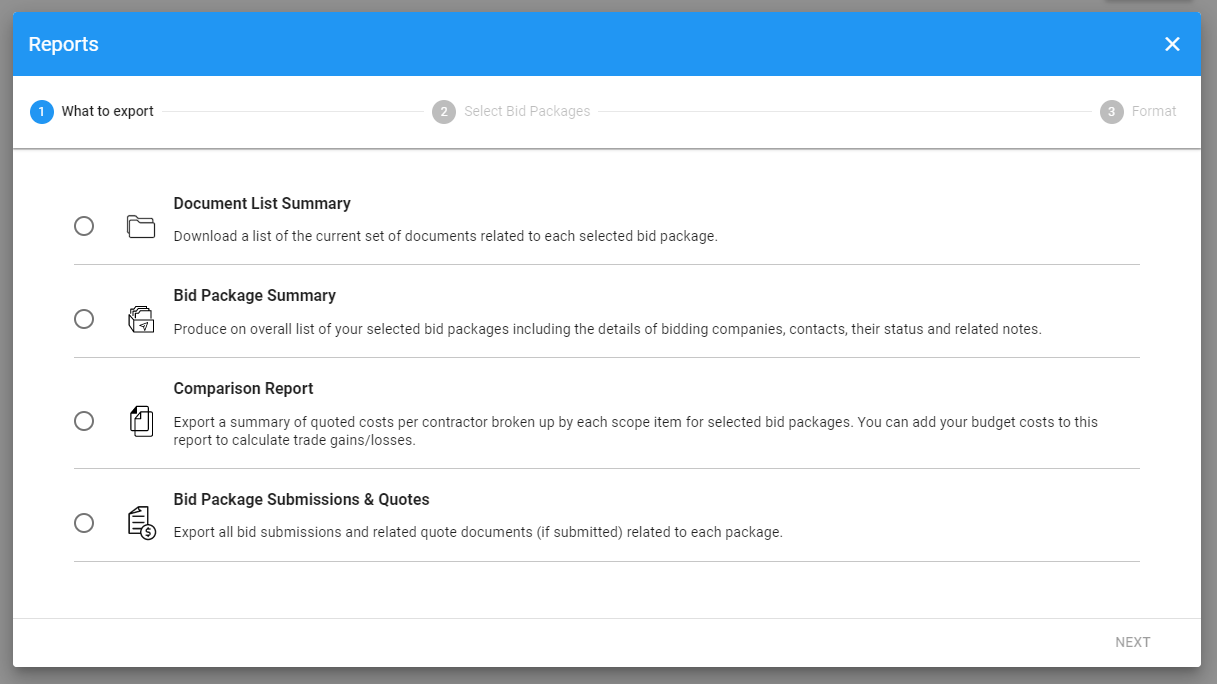
– create a document summary report for a folder

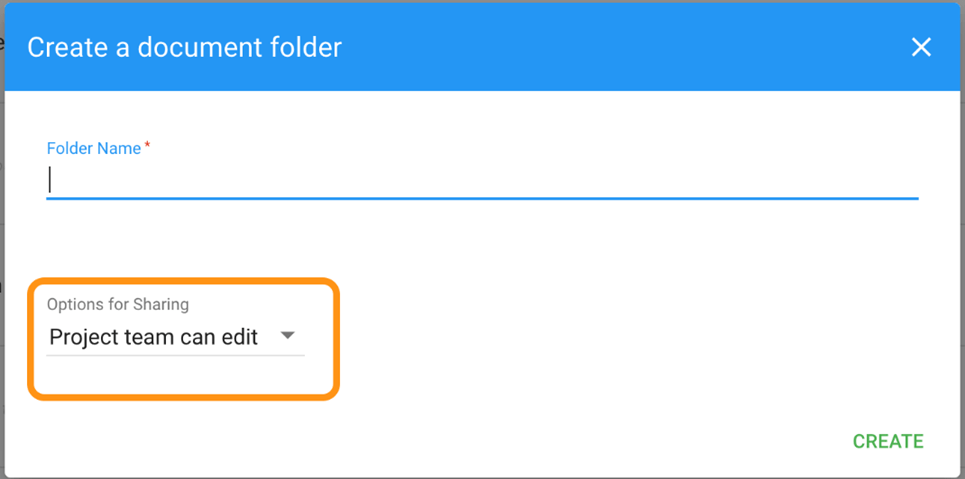
Note: When you create a new document folder, the following is a dialogue opens up. You can select `Project team can edit` as the Option for Sharing. See Create a document folder.
When you create a document folder using this option, you do not need to share the folder again with your project team members because they will have full access to it, including ‘edit’ privilege.

Step 5: Sharing
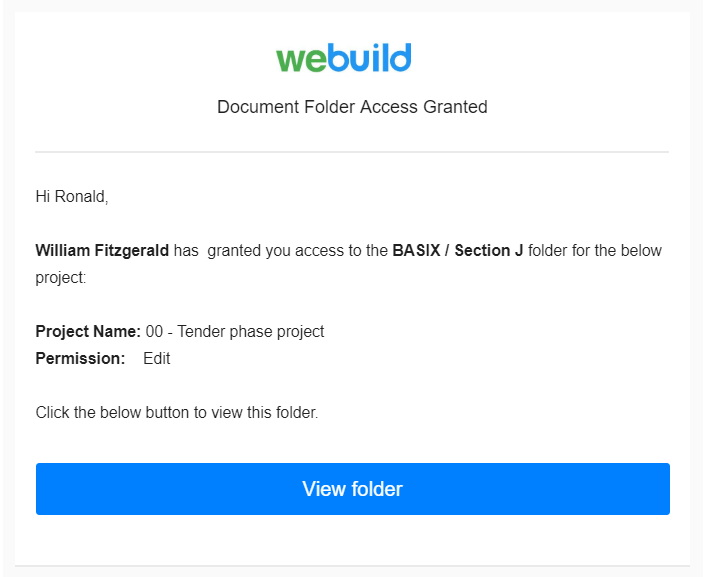
Click the “SHARE” button on the top right hand corner of the dialogue and the related contacts will be notified.
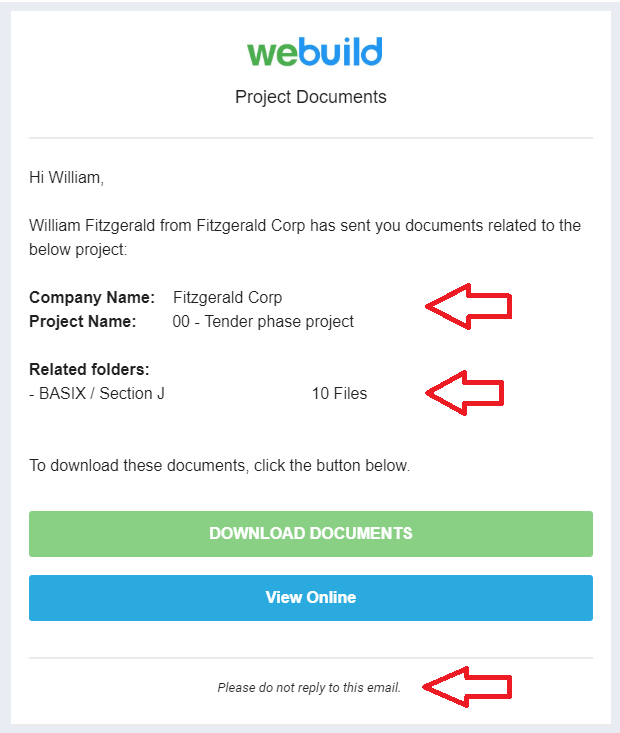
Step 6: Folder Share transmittal notifications
After you share one or more folders, each contact receives an email notification.
Recipients can click the “DOWNLOAD DOCUMENTS” button to download all related files and folders or click “VIEW ONLINE” to access files and folders via the interface.
A record of the related transmittal is added to the “Sent transmittals” folder of your Transmittals module with all information, including a date/time stamp for download activity.

Note: Users without Webuild accounts will be able to access files and folders via a “guest mode” interface with limited access.
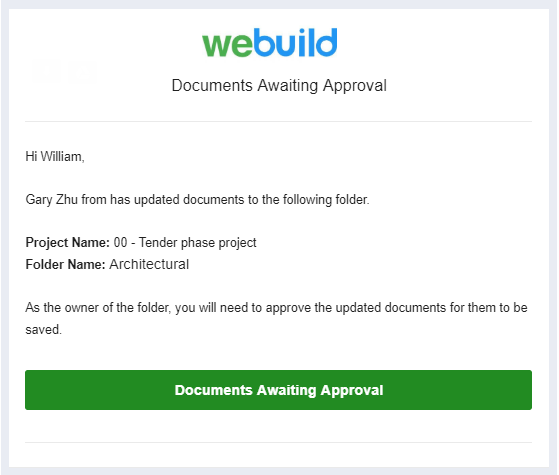
Step 7: Automatic transmittal updates
After sharing a folder with project team members and contacts from outside of your organisation, transmittals will be automatically prepared for them as files are added or superseded in your folder.
Transmittals that are automatically prepared appear in the “Pending Transmittals” folder of your project’s Transmittals Manager.
For more information about sending out the automatically prepared transmittal updates from the “Pending Transmittals” folder, see this article “Send transmittals when sharing document folders (automatically sent)” in the Transmittals Manager module.